|
|
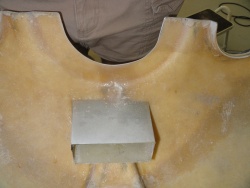
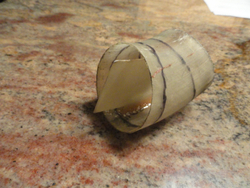
Oil Pan Plenum
Small Plenum opening directly onto the oil pan.
Date: 07/22/2012
Views: 210596
|
|
|
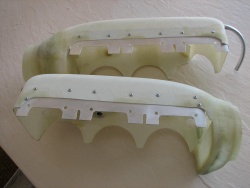
Aluminum Plenum flanges installed
Aluminum flanges were added to the plenums so that the plenums would not need to be fastened directly to the hot heads. Later in the build, the pop rivets were replaced with machine screws so that the front 2/3 of the plenum could be easily removed
Date: 01/01/2011
Views: 172605
|
|
|
|
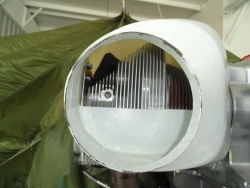
Cobra_head_front
Front view of cobra head modification. A vane was added to help smooth flow of air into the carb. The vane runs the length of the cobra head and extends about 1 inch into the carburetor throat. It seems to have helped even out the CHTs and EGSs between
Date: 11/05/2011
Views: 162809
|
|
|
Cobra_head_rear
Rear view of the modified cobra head
Date: 11/05/2011
Views: 135762
|
|
|
|
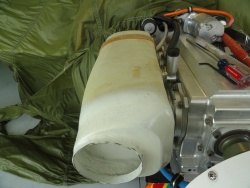
Cobra_head_side
Side view of the modified cobra head
Date: 11/05/2011
Views: 207492
|
|
|
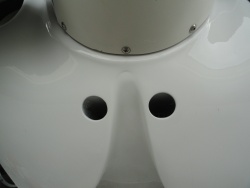
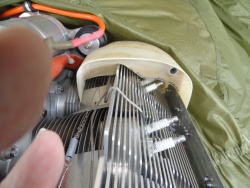
Oil_Pan_input
I put two 1.25 inch holes on either side of the shark's tooth. They empty into a rectangular plenum about 4 X 2.5 that is terminated about 1/4 inch in front of the oil pan. The pan has cooling strips and the outside air contributes to oil cooling.
Date: 08/31/2011
Views: 224789
|
|
|
|
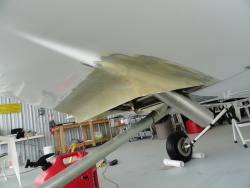
New_Cowl_02
Another view of the lip on the cowl.
Date: 08/31/2011
Views: 210592
|
|
|
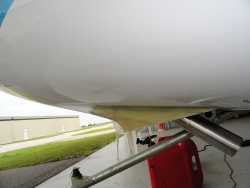
New_Cowl_01
New lip on cowl. A hole 14" X 7" was opened in the cowl. A piece of 4" PVC was used as a mold to form a lip on the edge of it, the idea being to create a low pressure area.
Date: 08/31/2011
Views: 176246
|
|
|
|
Right_Plenum_front
Right Plenum, Front View
Date: 07/09/2012
Views: 143873
|
|
|
Right_Plenum_installed
Right Plenum, both portions installed
Date: 07/09/2012
Views: 133156
|
|
|
|
Left_Plenum_Rear
Left Plenum, Rear portion.
Date: 07/09/2012
Views: 230199
|
|
|