|
|
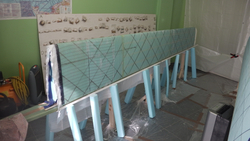
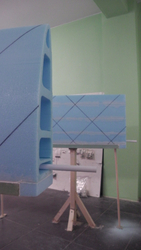
IMGA0571
Date: 03/17/2013
Views: 291780
|
|
|
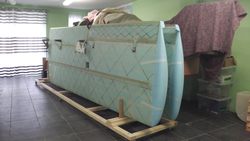
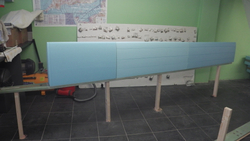
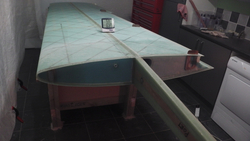
IMGA1259
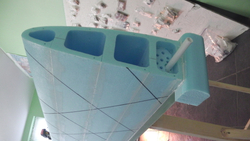
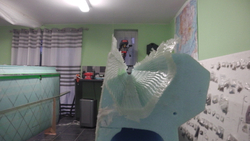
Not bad looking for a classic wing if i do say so myself. Had to make a wing dolly for easier manoeuvrability round the shop.
Date: 09/23/2013
Views: 290638
|
|
|
|
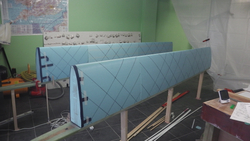
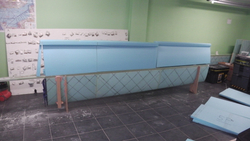
IMGA0613
Date: 04/09/2013
Views: 114269
|
|
|
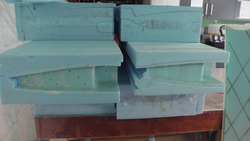
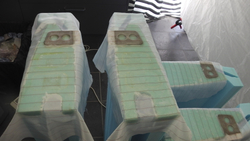
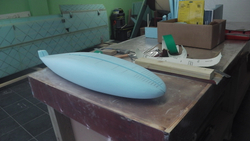
IMGA0680
These are the rear blocks where the bell cranks sit in. Note the vent holes
Date: 04/18/2013
Views: 113682
|
|
|
|
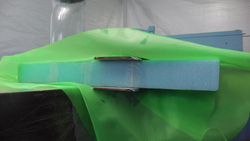
IMGA0701
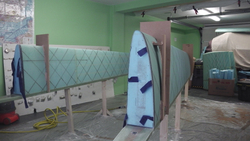
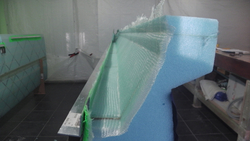
First wings L.E layed up and peel plyed. The blue foam is keeping in place a 90 degree strip which is keeping the end of the uni cloth bent under to aid bonding to the rear of the spar. A helpful tip from Mike Gregory.......Oh wanted to say it took 8 and
Date: 04/20/2013
Views: 112986
|
|
|
IMGA0732
The other rear blocks, laying up the ribs and including the mounting plates for the flap hinges.
Date: 04/25/2013
Views: 111593
|
|
|
|
IMGA0737
The small bloke with two mounting plates at the outrigger position.
Date: 04/26/2013
Views: 107242
|
|
|
IMGA0589
Date: 03/29/2013
Views: 106607
|
|
|
|
IMGA0673
Nicely shaped and blended in. The pipe sticking out runs all the way through the blocks and is to carry the wires from the fuselage to the wing tips for nav/strobe and hopefully landing lights
Date: 04/18/2013
Views: 105163
|
|
|
IMGA0712
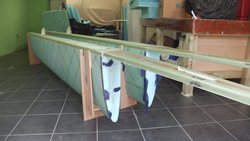
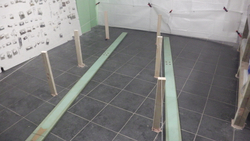
Made some stands and a reference plate which is at 90 degrees to the spar
Date: 04/23/2013
Views: 104405
|
|
|
|
IMGA0707
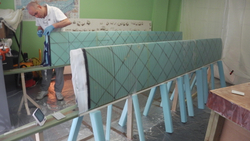
The next day me and my helper Ang did the other wing. This time it only took 6 and half hours so left us time to trim the other wing
Date: 04/21/2013
Views: 102046
|
|
|
IMGA0664
Scrap bit of foam which will get sanded to match the profile of the block. It takes up the gap between spar and end of the block
Date: 04/17/2013
Views: 101923
|
|
|
|
IMGA0811
Flap closeout
Date: 05/14/2013
Views: 101478
|
|
|
IMGA0716
Cracked off the jig, flipped over, and there we go iv got half a wing!!
Date: 04/23/2013
Views: 100393
|
|
|
|
IMGA0820
Aileron closeout
Date: 05/15/2013
Views: 97594
|
|
|
IMGA0585
Date: 03/18/2013
Views: 96879
|
|
|
|
IMGA0572
Date: 03/17/2013
Views: 96286
|
|
|
IMGA0878
Wing rib close outs
Date: 05/30/2013
Views: 95612
|
|
|
|
IMGA0722
Just testing out the rear blocks for an idea what it will look like
Date: 04/24/2013
Views: 94648
|
|
|
IMGA1057
And a few hours later.......
Date: 08/09/2013
Views: 94617
|
|