Random Items1. U8 ... 36. magnet 37. Throttle 2. 38. Lengthening... 39. Lengthening... 40. S7 41. S1 42. Aft door... ... 50. Throttle 4.Random Images
dscn0986Date: 12/31/1969 Views: 4825 
Sternpost bonding in 10.Date: 05/07/2009 Views: 5460 
oh_xjo_ivl8Date: 03/07/2007 Views: 4872 Newest Image
EAA SITEDate: 08/23/2023 Views: 769122 Most Viewed Image
EAA SITEDate: 08/23/2023 Views: 769122 |
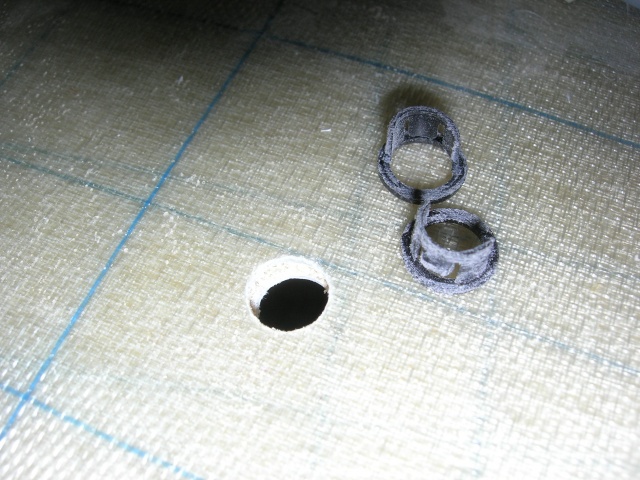
Photo Propertiessummary details
|