|
|
IMG_7769
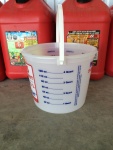
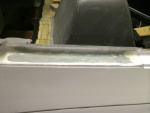
And this is the 1 gallon measure used to return fuel to the tank.
Date: 05/18/2014
Views: 26749
|
|
|
IMG_7767
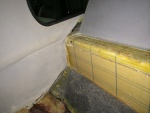
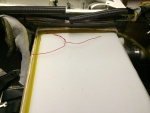
The sight gage with calibration markers.
Date: 05/18/2014
Views: 13803
|
|
|
|
IMG_7770
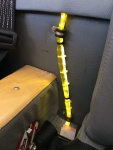
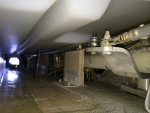
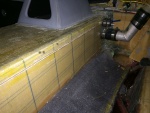
Calibrated sight gage with LED illumination. This really does help identify the fuel level. FYI: 6 gal to the bottom of the lower P-Clip, 7 gal to the top of the P-Clip, 8 gal to the 1st white tie, 9 gal to the 2nd tie, 10 gal to the 1st black tie, 12 g
Date: 05/18/2014
Views: 14709
|
|
|
IMG_7768
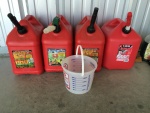
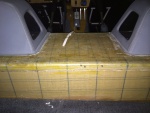
There's 18 gallons of AvGas in those 4 5-gallon gas cans.
Date: 05/18/2014
Views: 13919
|
|
|
|
IMG_7738
Everything pretty much back together. Eight months work at this point.
Date: 05/10/2014
Views: 20320
|
|
|
IMG_7736
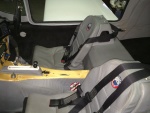
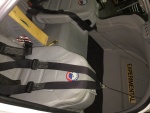
Reinstalled the shoulder harnesses and seats
Date: 05/10/2014
Views: 15304
|
|
|
|
IMG_7730
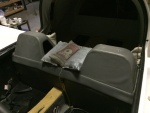
Returned the upholstery on to the back.
Date: 05/09/2014
Views: 16541
|
|
|
IMG_7735
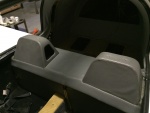
Not as nice as it was but still not looking too shabby.
Date: 05/10/2014
Views: 14018
|
|
|
|
IMG_7438
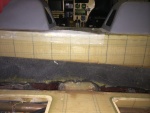
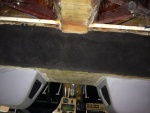
The back is well bonded across the width of the wall, as are the two sides.
Date: 03/11/2014
Views: 13758
|
|
|
IMG_7535
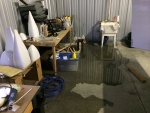
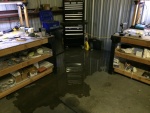
Then we had a bit of drama as the sink developed a leak in the feed line.
Date: 03/20/2014
Views: 12432
|
|
|
|
IMG_7536
It was a pretty good flow of water for a while. Flooding the back of the hanger. No real damage as, from previous experience, I try to keep things off the hanger floor in any case.
Date: 03/20/2014
Views: 14144
|
|
|
IMG_7567
Time to start putting upholstery back in place.
Date: 03/29/2014
Views: 11688
|
|
|
|
IMG_7568
And reconnecting the aileron tie rods.
Date: 03/29/2014
Views: 12999
|
|
|
IMG_7704
And fixing the passenger side door sill.
Date: 05/02/2014
Views: 15646
|
|
|
|
IMG_7712
Door sill repaired.
Date: 05/04/2014
Views: 12967
|
|
|
IMG_7321
Checking the back.
Date: 02/17/2014
Views: 13405
|
|
|
|
IMG_7322
Checking the back.
Date: 02/17/2014
Views: 12951
|
|
|
IMG_7324
Checking the back. Looks like a good fit overall.
Date: 02/17/2014
Views: 13121
|
|
|
|
IMG_7365
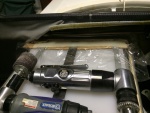
Getting the sight gage plumbing in place.
Date: 02/22/2014
Views: 12639
|
|
|
IMG_7366
Applying the fiberglass/epoxy strips to the port side. Plastic wrap to prevent the epoxy from bonding to the tools used to hold the strip in place.
Date: 02/22/2014
Views: 12772
|
|