|
|
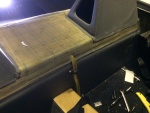
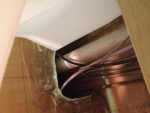
IMG_7282
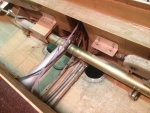
Two venting outlets.
Date: 02/13/2014
Views: 10743
|
|
|
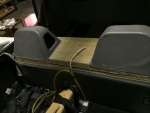
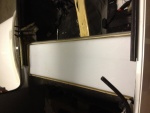
IMG_7319
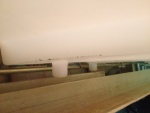
A test fit of the top. Check of the front.
Date: 02/17/2014
Views: 10041
|
|
|
|
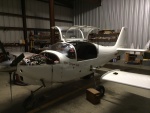
IMG_6960 1
One needs some room near the cockpit so the wings come off. In addition, all the connections to the fuel tank were removed.
Date: 11/10/2013
Views: 10276
|
|
|
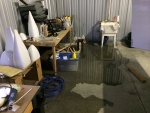
IMG_7535
Then we had a bit of drama as the sink developed a leak in the feed line.
Date: 03/20/2014
Views: 12212
|
|
|
|
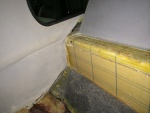
IMG_7430
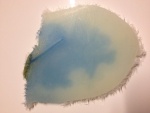
The front has bonded nicely around the sight gage entry.
Date: 03/11/2014
Views: 10054
|
|
|
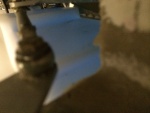
IMG_7382
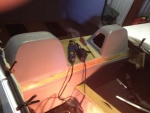
Blue fuel in the tank.
Date: 02/23/2014
Views: 10669
|
|
|
|
IMG_6962
The cut on the front side
Date: 10/17/2013
Views: 11055
|
|
|
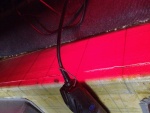
IMG_7374
The filtering funnel keeps crap out of the fuel tank
Date: 02/22/2014
Views: 10102
|
|
|
|
IMG_7005
The space with the aileron tie rod and starboard side support removed.
Date: 10/22/2013
Views: 10428
|
|
|
IMG_6989
In addition, the aileron tie rod between the sticks is in the way and will have to come out.
Date: 10/21/2013
Views: 12399
|
|
|
|
IMG_6958
Tear out the interior to gain access to the upper part of the back where the fuel tank resides.
Date: 10/17/2013
Views: 10621
|
|
|
IMG_6975
The crack as viewed from the underside. it is about 1 5/8 in (4 cm) long and 1/32 in (1 mm) wide. Notice the blue staining on the underside surface.
Date: 10/19/2013
Views: 11316
|
|
|
|
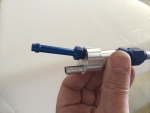
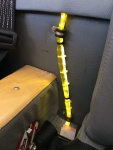
IMG_7770
Calibrated sight gage with LED illumination. This really does help identify the fuel level. FYI: 6 gal to the bottom of the lower P-Clip, 7 gal to the top of the P-Clip, 8 gal to the 1st white tie, 9 gal to the 2nd tie, 10 gal to the 1st black tie, 12 g
Date: 05/18/2014
Views: 14463
|
|
|
IMG_7322
Checking the back.
Date: 02/17/2014
Views: 12714
|
|
|
|
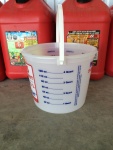
IMG_7769
And this is the 1 gallon measure used to return fuel to the tank.
Date: 05/18/2014
Views: 26460
|
|
|
IMG_7030
The tank was then put in place so that the urethane and micro could shape themselves to the bottom of the tank
Date: 10/31/2013
Views: 9883
|
|
|
|
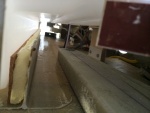
IMG_6996
You also have to make sure you clear all the cables, plumbing and wiring in the "tunnel" area.
Date: 10/21/2013
Views: 10246
|
|
|
IMG_7230
It was determined that a 1/4 in (6.4 mm) thick piece of rigid urethane foam topped with cork was needed to support the front "ledge" of the tank so it wouldn't sag.
Date: 01/26/2014
Views: 11529
|
|
|
|
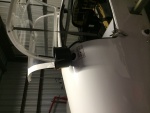
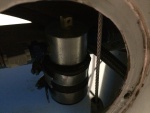
IMG_7384
Starboard side fuel outlet. No leaks here
Date: 02/23/2014
Views: 9853
|
|
|
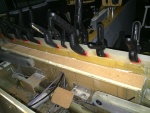
IMG_7235
A strip being bonded to the front wall.
Date: 01/31/2014
Views: 10183
|
|