|
|
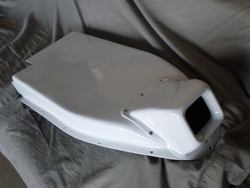
p1000471
p1000471.jpg
Date: 12/13/2011
Views: 25115
|
|
|
dsc08603
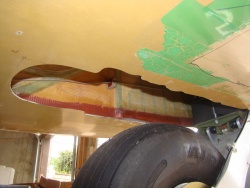
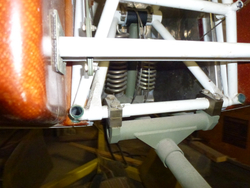
Since I'm going to have to remove the mono wheel I dont have much of an edge to close in the big hole in the bottom. I'll have a better look at it once its a tri-gear.
Date: 04/10/2012
Views: 32269
|
|
|
|
dsc08639
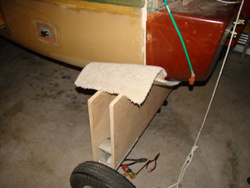
More of the same. I was going to cut the carpet and form it to the ribs and staple it in place but decided that was just a time vampire and pointless since the airframe is holding it in place.
Date: 04/15/2012
Views: 25475
|
|
|
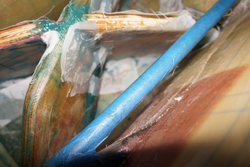
nex_2013_08_24_03
nex_2013_08_24_03.jpg
Date: 08/25/2013
Views: 17485
|
|
|
|
p1000689
p1000689.jpg
Date: 03/12/2012
Views: 12646
|
|
|
dsc08401
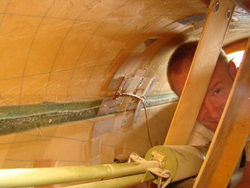
I see you!
Date: 03/25/2012
Views: 28975
|
|
|
|
p1000693
p1000693.jpg
Date: 03/12/2012
Views: 12493
|
|
|
p1000636
p1000636.jpg
Date: 02/14/2012
Views: 11997
|
|
|
|
p1000687
p1000687.jpg
Date: 03/12/2012
Views: 12853
|
|
|
20141102_154450
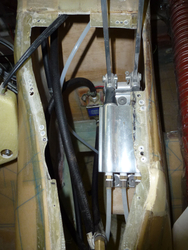
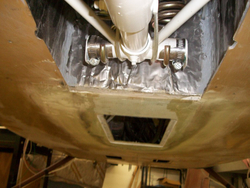
Gear cover removed, now for removing the throttle box. This is all prep work to patch up the mono wheel hole.
Date: 11/02/2014
Views: 43276
|
|
|
|
p1000714
p1000714.jpg
Date: 03/12/2012
Views: 13200
|
|
|
dsc08613
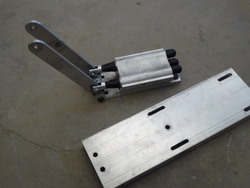
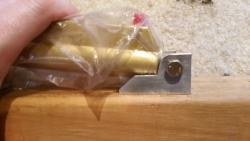
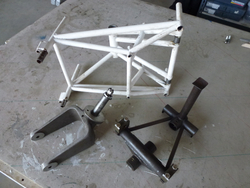
Unused Mono wheel components. I'll probably be selling these soon.
Date: 04/10/2012
Views: 32742
|
|
|
|
dsc08612
Unused Mono wheel components. I'll probably be selling these soon.
Date: 04/10/2012
Views: 35838
|
|
|
20141102_161000
template for new firewall.
Date: 11/02/2014
Views: 41039
|
|
|
|
p1000723
p1000723.jpg
Date: 03/12/2012
Views: 13447
|
|
|
20160403_160502.jpg
20160403_160502.jpg
Date: 04/03/2016
Views: 25566
|
|
|
|
p1000617
p1000617.jpg
Date: 01/29/2012
Views: 20729
|
|
|
E1
[quote="Bud Yerly"]"Make a glass cover that fits the hole out of three sheets of bid laid up on a flat surface. After cure, hold it up to the bottom of the plane and mark the contour. Cut and approximate the fit. It should be near level
Date: 10/05/2012
Views: 23408
|
|
|
|
dsc08961
Stb side two layers bid 10" and 8" peel ply removed
Date: 10/01/2012
Views: 24313
|
|
|
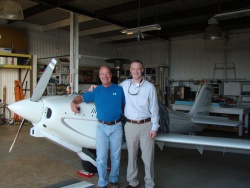
DSC08803
Me and my Uncle Kim.
Date: 06/10/2012
Views: 29634
|
|