|
|
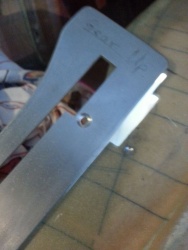
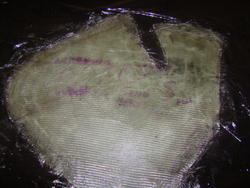
dsc09073
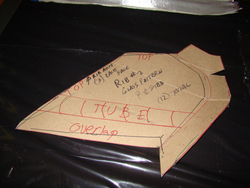
Rib 2 template.
Date: 01/26/2013
Views: 18875
|
|
|
dsc08636
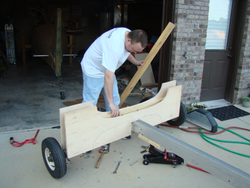
Here is Bill placing in some 2x6's to act as a support for the rear rib. The I-beam is 3 inches wide so the 2x6 fit perfectly. I'll explain later how those come into play.
Date: 04/15/2012
Views: 19879
|
|
|
|
dsc09022
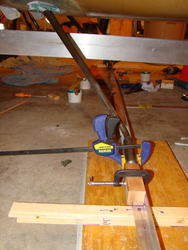
Here you see I used bondo on the shims and screwed them down into the block. The shims made sure the guide was level. Also note the hole drilled in the Aluminum angle and the shim. This is where I fixed the guide for the curing stage to ensure nothing
Date: 01/22/2013
Views: 21707
|
|
|
dsc09027
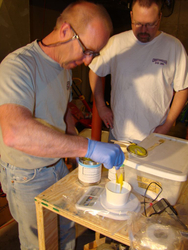
Mixing that expensive 420.
Date: 01/22/2013
Views: 19643
|
|
|
|
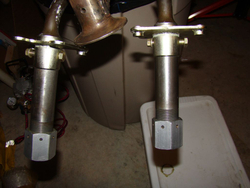
dsc09029
Gear legs clamped in place, no toe in/out per Bud. You cant see it in the photo but I used a green tip .30 bullet as a homemade plum bob that was attached to dead center of the aluminum angle. This helped us keep the guide over the center line. Oh make
Date: 01/22/2013
Views: 20215
|
|
|
dsc09024
I was really anal about keeping the socket holes tight. This proved to be more work than it was worth and was fighting the tight fit when it came to locating the axles. Do yourself a favor and just make them a little bigger, 1/8 or so. This gap will be
Date: 01/22/2013
Views: 21320
|
|
|
|
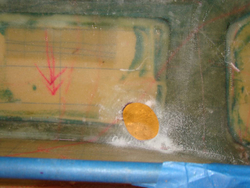
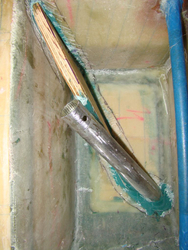
dsc09065
Stbd side peel ply removed.
Date: 01/25/2013
Views: 19876
|
|
|
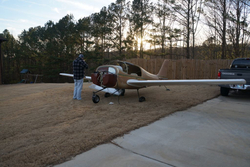
nex_2014_01_25_28
Wings on. Not really required at the stage. Just had to do it for motivation.
Date: 01/26/2014
Views: 21810
|
|
|
|
nex_2014_01_12_07
Port side.
Date: 01/13/2014
Views: 18058
|
|
|
dsc09038
To make our backs happy and life 1000% easier we tilted the fuselage. Notice I used my monowheel trailer as a jig. A tow strap 4" wide was used in the rear to hold the tail. This was rock solid.
Date: 01/23/2013
Views: 19961
|
|
|
|
20141102_153539
Out. Ad you can see the screw is sill in the nut plate. it came out later.
Date: 11/02/2014
Views: 42509
|
|
|
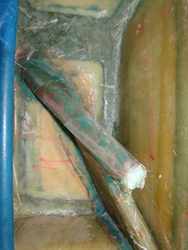
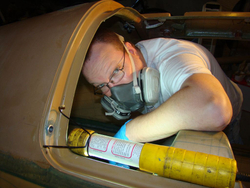
dsc09061
Applying the layups on stbd side.
Date: 01/24/2013
Views: 17780
|
|
|
|
20141102_161000
template for new firewall.
Date: 11/02/2014
Views: 39247
|
|
|
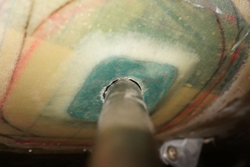
dsc09042
Starboard side being keyed.
Date: 01/23/2013
Views: 17809
|
|
|
|
nex_2014_01_25_32
nex_2014_01_25_32.jpg
Date: 01/26/2014
Views: 24833
|
|
|
dsc08629
In a few mins she will no longer be a monowheel :-(
Date: 04/14/2012
Views: 22622
|
|
|
|
nex_2014_01_25_15
Doing mod 59.
Date: 01/25/2014
Views: 19633
|
|
|
dsc09056
Wetting out stbd side.
Date: 01/24/2013
Views: 17616
|
|
|
|
dsc09070
While the layups are curing we stared work on the axles. Had to ream out the holes forMG02.
Date: 01/25/2013
Views: 19696
|
|
|
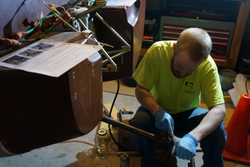
dsc09063
Hey Bill!
Date: 01/24/2013
Views: 18011
|
|