|
|
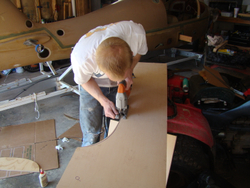
dsc08625
Cutting out one of the ribs for the airframe. Going to use the mono trailer as the foundation of the jig. This will make is easy to level the airframe when getting ready for the trr-gear conversion. How do you like my work bench?
Date: 04/14/2012
Views: 32116
|
|
|
nex_2014_01_25_03
Port side dirty work. Just test fitting final install with all hardware will be after the legs are painted.
Date: 01/25/2014
Views: 19657
|
|
|
|
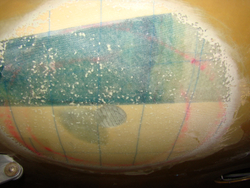
dsc09074
Port side Rib 2 layup.
Date: 01/26/2013
Views: 18589
|
|
|
dsc08640
OK not the best shot but here you can see I used the jack to move the rear rib in place under the airframe being careful not to pinch the belly. I then secured the rib in place but using some drywall screws in the 2x6. This way any weight will be transf
Date: 04/15/2012
Views: 23756
|
|
|
|
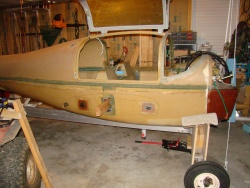
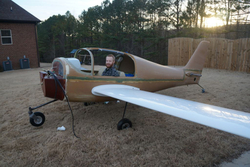
nex_2014_01_25_35
Dont judge me! You know you do it too. Anyways, was trying to see if my weight would cause the nose to come down. As you can see she likes being a tail dragger.
Date: 01/26/2014
Views: 26449
|
|
|
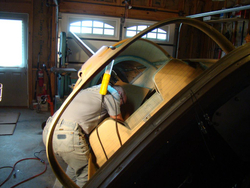
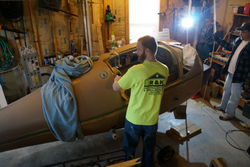
dsc09045
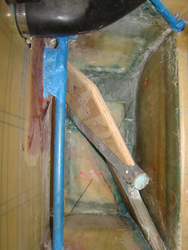
Uncle Kim at work. We would tilt to starboard to work on the port side vice versa.
Date: 01/23/2013
Views: 20985
|
|
|
|
DSC08801
starboard side
Date: 06/05/2012
Views: 41211
|
|
|
dsc09046
Making a layup schedule for rib 1.
Date: 01/23/2013
Views: 19128
|
|
|
|
dsc09040
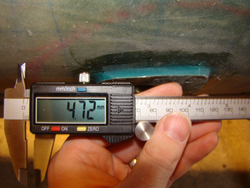
The gap from the bottom of the socket and the belly is as you see. The only way to get it all the way down was to lower the belly to 15" which was not considered an option. Belly hight is 16.0" with the axle width at 82.50" and axle cent
Date: 01/23/2013
Views: 19878
|
|
|
20141102_162118
Cut it out.
Date: 11/02/2014
Views: 148478
|
|
|
|
dsc09054
Wetting out stbd side.
Date: 01/24/2013
Views: 17888
|
|
|
dsc09052
Wetting out stbd side.
Date: 01/24/2013
Views: 18917
|
|
|
|
dsc09032
Port side done.
Date: 01/22/2013
Views: 18293
|
|
|
nex_2014_01_25_16
nex_2014_01_25_16.jpg
Date: 01/25/2014
Views: 19980
|
|
|
|
dsc09069
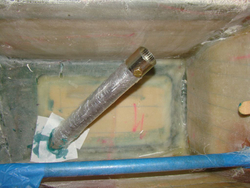
Rib 2 stbd side.
Date: 01/25/2013
Views: 18405
|
|
|
dsc09034
Starboard side done. Pic taken before a little clean up.
Date: 01/22/2013
Views: 18243
|
|
|
|
20141102_153539
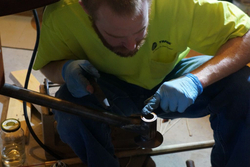
Out. Ad you can see the screw is sill in the nut plate. it came out later.
Date: 11/02/2014
Views: 41909
|
|
|
dsc08961
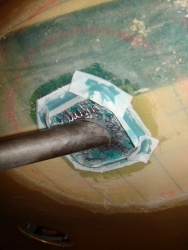
Stb side two layers bid 10" and 8" peel ply removed
Date: 10/01/2012
Views: 23261
|
|
|
|
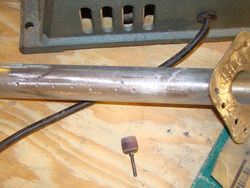
dsc09023
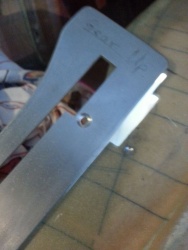
Ensure you have a good key. I used the drill press to create the dimples. These will be filled with 420 and flox when doing the glass layups.
Date: 01/22/2013
Views: 20337
|
|
|
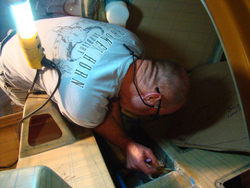
nex_2014_01_25_07
What a mess.
Date: 01/25/2014
Views: 20392
|
|