|
|
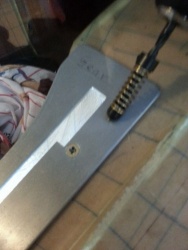
20141102_152814
Drilling out the screw. It would move. I'm removing this plate to patch later.
Date: 11/02/2014
Views: 30905
|
|
|
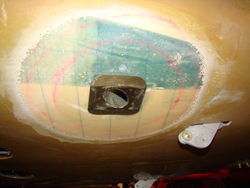
dsc08963
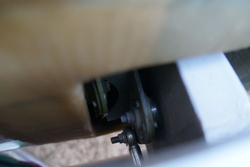
Port side. LG socket fitting.
Date: 10/01/2012
Views: 20824
|
|
|
|
DSC08797
Port side
Date: 06/05/2012
Views: 43724
|
|
|
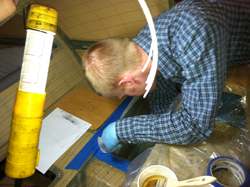
dsc09062
Bill applying peel ply!
Date: 01/24/2013
Views: 18119
|
|
|
|
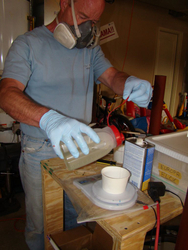
dsc09051
Mix it up Kim! FYI I hate this scale from aircraft spruce, it times out in one min if your plugged in or not. I would have to tap the scale while Kim mixed. We were using masks due to being in an enclosed area and I'm very allergic to the hardener (bumm
Date: 01/24/2013
Views: 19246
|
|
|
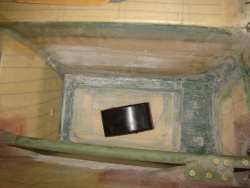
dsc08607
Starting to prep the bays for the tri-gear conversion.
Date: 04/10/2012
Views: 22026
|
|
|
|
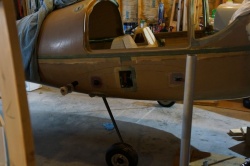
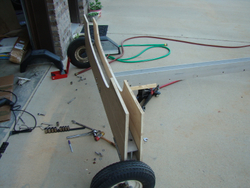
nex_2014_01_25_06
Mains on the ground for the first time.
Date: 01/25/2014
Views: 19565
|
|
|
nex_2013_08_24_03
nex_2013_08_24_03.jpg
Date: 08/25/2013
Views: 16959
|
|
|
|
dsc09068
Seeing how ribs 2,3,4 line up. Get a belt sander 4x36, you'll be glad you did. Mine is from Harbor Freight.
Date: 01/25/2013
Views: 19865
|
|
|
nex_2014_01_25_31
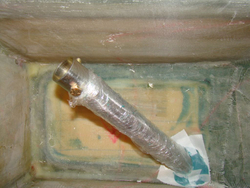
Starboard side, need to trim the bolt.
Date: 01/26/2014
Views: 23972
|
|
|
|
dsc09033
Port side done.
Date: 01/22/2013
Views: 18523
|
|
|
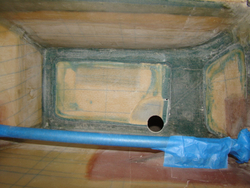
dsc09024
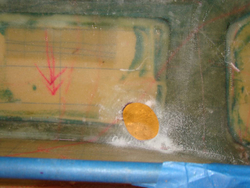
I was really anal about keeping the socket holes tight. This proved to be more work than it was worth and was fighting the tight fit when it came to locating the axles. Do yourself a favor and just make them a little bigger, 1/8 or so. This gap will be
Date: 01/22/2013
Views: 21318
|
|
|
|
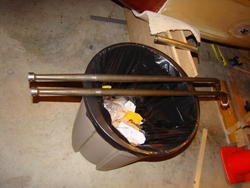
dsc09019
Trash can is the best way to hold the landing gear legs.
Date: 01/10/2013
Views: 21122
|
|
|
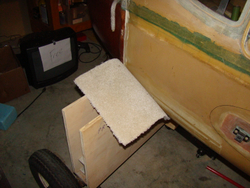
dsc08638
I used some thick good quality carpet to pad the ribs.
Date: 04/15/2012
Views: 19600
|
|
|
|
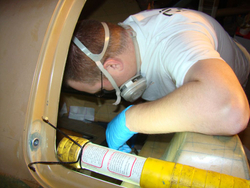
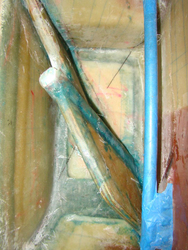
photo (2)
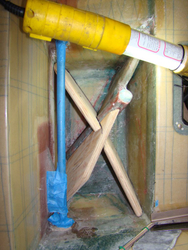
Small area to work in. Back was killing me after that job. can't wait to give my back the same treatment when doing the ribs and starboard side.
Date: 08/20/2012
Views: 42975
|
|
|
dsc08634
OK now that the plane is off the trailer and on its own wheel we were able to remove most of the trailer hardware and position the ribs. We also used the main bolts to hold the first rib in place. The other rib was left a little lower to be located once
Date: 04/15/2012
Views: 20688
|
|
|
|
dsc09075
Stbd side after cure. We died the uni in with rib 1.
Date: 01/26/2013
Views: 18652
|
|
|
dsc09076
Bottom layup of the port side.
Date: 01/26/2013
Views: 18838
|
|
|
|
nex_2014_01_25_32
nex_2014_01_25_32.jpg
Date: 01/26/2014
Views: 24831
|
|
|
nex_2014_01_25_05
My lovely bride helping us out. Notice the jig is the mono wheel trailer.
Date: 01/25/2014
Views: 20247
|
|