Lots of stuff happening.
We started with 2 BID laid up on a piece of plastic, then peeled it back on the aft side and applied a 1" wide piece of peel ply.
After wetting out the fiberglass, sealing the foam with a Q-Cel slurry and filling any voids with Flox we forced the aft side between the top and bottom layer of the tunnel.
Then we put peel ply on the 2 BID layup and forced a taped mixing stick between the top and bottom fiberglass, (foam removed by ~ 1/4"), on the aft side of the tunnel on top of this 2 BID layup to keep it laying on the bottom tunnel layer of fiberglass.
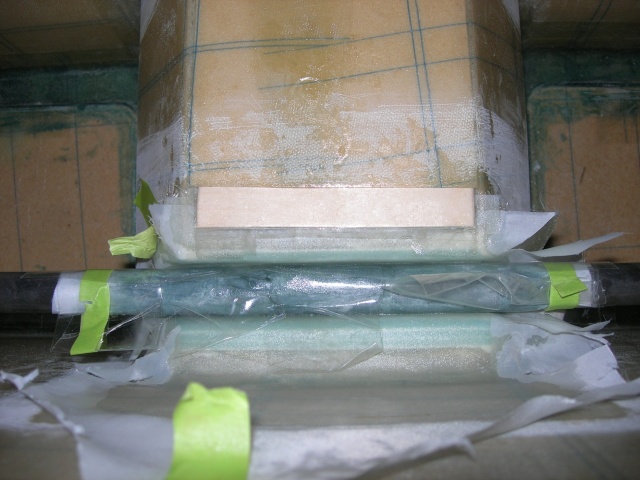
Then we scuff sanded the center of the tie-bar with 80 grit, wet it out with Redux, then wet out 1 BID on plastic with Redux, (used heat gun to thin and wet out a little easier), wrapped the tie-bar overlapping by 1/2", then peel plied the 1 BID layup and covered the peel ply in 3M 375 packaging tape.
Then we installed the tie-bar so we could fabricate the plywood blocks that hold the outboard plates that connect to the tie-bar.
Y10-11-13