|
|
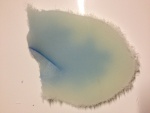
IMG_6843
Back from KOSH, I get out my video snake and try to run it down into the tank to find the leak.
Date: 10/01/2013
Views: 3976
|
|
|
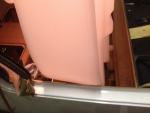
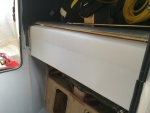
IMG_6994
Seeing where the passenger door sill will have to be cut to allow the tank to go in.
Date: 10/21/2013
Views: 4537
|
|
|
|
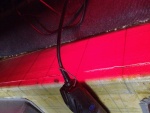
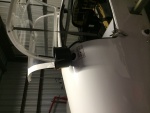
IMG_6962
The cut on the front side
Date: 10/17/2013
Views: 4260
|
|
|
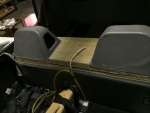
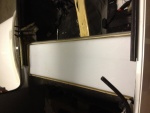
IMG_7319
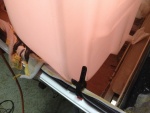
A test fit of the top. Check of the front.
Date: 02/17/2014
Views: 4117
|
|
|
|
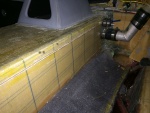
IMG_7730
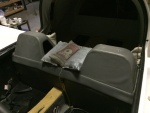
Returned the upholstery on to the back.
Date: 05/09/2014
Views: 5526
|
|
|
IMG_7356
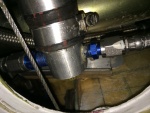
The starboard side outlet with all fuel lines connected.
Date: 02/19/2014
Views: 4005
|
|
|
|
IMG_6984
But there's no way to get it in. It is too wide to go between the door sills.
Date: 10/21/2013
Views: 4374
|
|
|
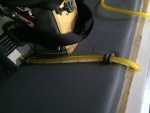
IMG_7770
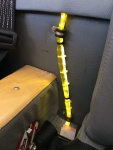
Calibrated sight gage with LED illumination. This really does help identify the fuel level. FYI: 6 gal to the bottom of the lower P-Clip, 7 gal to the top of the P-Clip, 8 gal to the 1st white tie, 9 gal to the 2nd tie, 10 gal to the 1st black tie, 12 g
Date: 05/18/2014
Views: 4734
|
|
|
|
IMG_6956
Back side of the new tank.
Date: 10/17/2013
Views: 3934
|
|
|
IMG_7324
Checking the back. Looks like a good fit overall.
Date: 02/17/2014
Views: 5986
|
|
|
|
IMG_7027
The underside of the fuel tank is covered in plastic wrap which will prevent the tank from bonding to the epoxy in the micro.
Date: 10/30/2013
Views: 4008
|
|
|
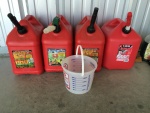
IMG_7768
There's 18 gallons of AvGas in those 4 5-gallon gas cans.
Date: 05/18/2014
Views: 4844
|
|
|
|
IMG_7282
Two venting outlets.
Date: 02/13/2014
Views: 4644
|
|
|
IMG_7366
Applying the fiberglass/epoxy strips to the port side. Plastic wrap to prevent the epoxy from bonding to the tools used to hold the strip in place.
Date: 02/22/2014
Views: 5296
|
|
|
|
IMG_6978
The crack as viewed from the top side.
Date: 10/19/2013
Views: 4146
|
|
|
IMG_7232
Must have had the tank in/out two dozen times determining necessary clearances and supports.
Date: 01/26/2014
Views: 4357
|
|
|
|
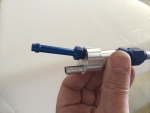
IMG_7374
The filtering funnel keeps crap out of the fuel tank
Date: 02/22/2014
Views: 3575
|
|
|
IMG_7285
The new sight gage running up the back rest. 2 P-clips hold it in place. The new sight gage is also back lit with a strip of LED lights.
Date: 02/13/2014
Views: 4136
|
|
|
|
IMG_7030
The tank was then put in place so that the urethane and micro could shape themselves to the bottom of the tank
Date: 10/31/2013
Views: 3711
|
|
|
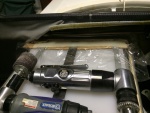
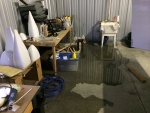
IMG_7535
Then we had a bit of drama as the sink developed a leak in the feed line.
Date: 03/20/2014
Views: 5116
|
|