|
|
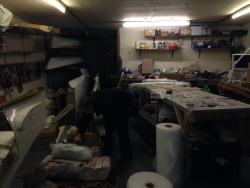
DSC00158
Date: 09/03/2015
Views: 116927
|
|
|
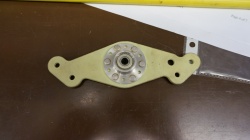
DSC00165
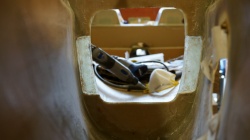
Trial fit of the push rod bracket! Doesn't look good. This is going to take some thought.
Date: 09/04/2015
Views: 104178
|
|
|
|
DSC00212
Marking position for bracket on rear bulk head
Date: 09/08/2015
Views: 102264
|
|
|
DSC00229
Still some work to do but happy so far.
Date: 09/10/2015
Views: 101662
|
|
|
|
DSC00160
Foam removed from rear bulk head ready for plywood inserts
Date: 09/03/2015
Views: 100845
|
|
|
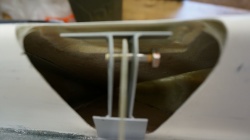
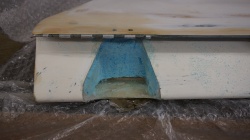
DSC00214
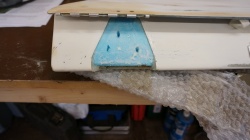
blue foam placed in rudder to fill void
Date: 09/08/2015
Views: 99478
|
|
|
|
DSC00219
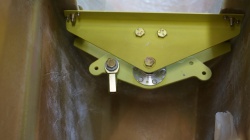
bracket installed
Date: 09/09/2015
Views: 94513
|
|
|
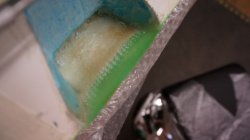
DSC00163
Rudder opened up to accept the push rod bracket. Alas no blue foam as it is the NG model. No instructions on how to proceed. Advice from Europa is to bod in some blue foam is it is not load bearing and is just a bed for the composite.
Date: 09/04/2015
Views: 92849
|
|
|
|
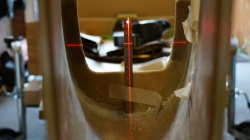
DSC00215
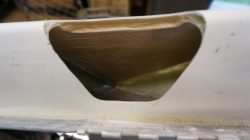
foam removed to make space for the rudder bracket
Date: 09/09/2015
Views: 81463
|
|
|
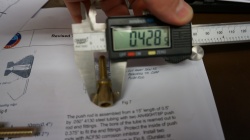
DSC00157
Instructions state that rod should be reamed to 0.375" but it needed to be reamed out 0.428" to fit push rod.
Date: 09/03/2015
Views: 72531
|
|
|
|
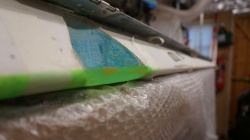
DSC00228
Had to remove more of the rudder than I wanted so build up rudder trailing edge by attaching peel ply to the outside of the rudder and build up trailing edge using flox around the edge and an initial 2 ply of bid. i'll apply an additional 2 ply after the
Date: 09/10/2015
Views: 70918
|
|
|
IMG_0231
Date: 01/31/2014
Views: 70552
|
|
|
|
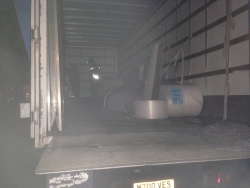
IMG_0237
Fuselage in the truck
Date: 02/01/2014
Views: 66620
|
|
|
IMG_0235
Date: 02/01/2014
Views: 64324
|
|
|
|
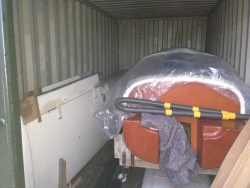
IMG_0251
Kit safely in Storage.
Date: 02/01/2014
Views: 61162
|
|
|
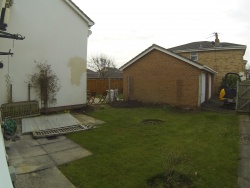
GoPro1 002
Garden before
Date: 03/17/2014
Views: 60954
|
|
|
|
IMG_0230
Date: 01/31/2014
Views: 60450
|
|
|
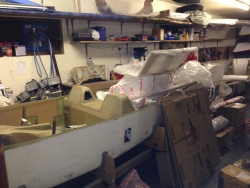
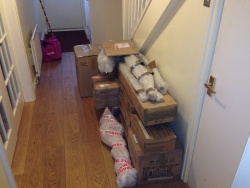
IMG_0245
Wife not happy. Aircraft parts in the house!
Date: 02/01/2014
Views: 55932
|
|
|
|
IMG_0228
Andy & I having a good breakfast prior to the start of our trip to South Wales
Date: 01/31/2014
Views: 52339
|
|
|
IMG_0340[1]
cloth cabinet installed.
Date: 09/04/2014
Views: 51737
|
|


![IMG_0340[1]](d/759513-4/IMG_0340_1_.JPG)