|
|
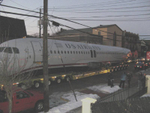
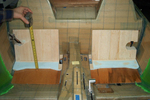
Hudson_7
Date: 02/27/2009
Views: 6225
|
|
|
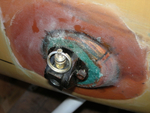
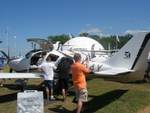
DSCN6451
Date: 10/25/2009
Views: 4699
|
|
|
|
FlapDrive08Ann
Date: 08/09/2004
Views: 4523
|
|
|
2005_1_16_29
Date: 02/03/2009
Views: 6740
|
|
|
|
IM002752
Date: 10/30/2007
Views: 9021
|
|
|
P1010151
Date: 11/29/1999
Views: 7636
|
|
|
|
Flowscan wire run 3.
Date: 08/02/2010
Views: 6061
|
|
|
02052008049_G
Date: 10/14/2009
Views: 8033
|
|
|
|
SA 2012 02 P55
Sport Aviation, February 2012, page 55, "When to Overhaul" by Mike Busch/Commentary/SAVVY AVIATION.
Date: 02/22/2012
Views: 5946
|
|
|
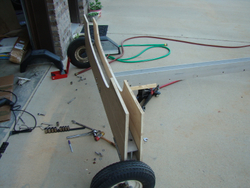
dsc08634
OK now that the plane is off the trailer and on its own wheel we were able to remove most of the trailer hardware and position the ribs. We also used the main bolts to hold the first rib in place. The other rib was left a little lower to be located once
Date: 04/15/2012
Views: 21177
|
|
|
|
img0888copy
Date: 07/29/2007
Views: 3790
|
|
|
30122002193157_G
Date: 12/31/1969
Views: 4824
|
|
|
|
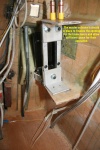
IMG_0456ann
2010 10 18 Mounted the new brake master cylinder with clecos to establish the location and size of the hole in the console needed for the brake levers.
Date: 10/18/2010
Views: 4482
|
|
|
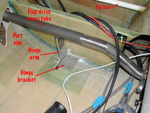
101002_hingbrk
Date: 12/31/1969
Views: 4514
|
|
|
|
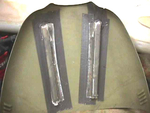
DoorSupportMod11Ann
Date: 05/12/2004
Views: 3317
|
|
|
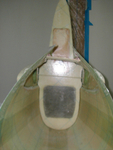
RearBulkheadFit2
Date: 06/20/2004
Views: 5720
|
|
|
|
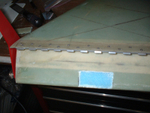
Port wingskin fill begins 2.
Date: 09/14/2010
Views: 7313
|
|
|
DSCN5113
Date: 11/29/1999
Views: 7161
|
|
|
|
Ardmore02
Date: 12/03/2004
Views: 5575
|
|
|
CH15_3
Date: 12/31/1969
Views: 4310
|
|