|
|
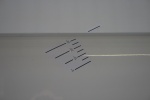
Flap Mark Up
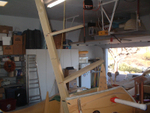
So it was time to commit to sticking the real markings to the flap. Flap up...
Date: 07/01/2011
Views: 5799
|
|
|
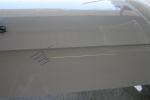
Flap Mark Down
Flap down. Just about perfect. And I can even see them from the cockpit.
Date: 07/01/2011
Views: 4259
|
|
|
Flap Mark Location
Here's where they ended up, the 27.25" inboard from the outboard end of the flap.
Date: 07/01/2011
Views: 5525
|
|
|
IMG_2681
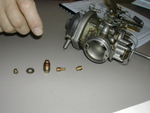
2012 04 09 Well, after 4 weeks and buckets of DOT5 spent trying to make the Jaymar master cylinders work I have given up. They are just crap. So I'm taking the base of their base and building a new brake master setup using MATCO MC-4A master cylinders.
Date: 04/07/2012
Views: 7015
|
|
|
IMG_2683
Here are the new MATCO master cylinders connected to the old levers sitting on the old base. Now how do we contain the back ends to make this work?
Date: 04/07/2012
Views: 5074
|
|
|
IMG_2685
I elected to make up a support structure from some 12" 1 1/2 x 1 1/2 wide aluminum angle i had in my aluminum bin. Cut two lengths 5 1/2" long and clamped them to the base well centered and drilled out holes matching the base. Attached them t
Date: 04/09/2012
Views: 4875
|
|
|
IMG_2688
Cut away excess material on the sides of the angle. Will probably cut away more excess material from the base part of the angle.
Date: 04/09/2012
Views: 5784
|
|
|
IMG_2692
The longest AN3-30 bolt I had was too short so a longer bolt is on order as are aluminum spacers to maintain proper alignment of the ends of the MCs.
Date: 04/09/2012
Views: 5182
|
|
|
IMG_2703
2012 04 11 - Bits arrived today. Relocated (lower) the holes for the bolt which will hold the aft ends of the master cylinders. Also removed more metal from the brackets.
Date: 04/11/2012
Views: 5813
|
|
|
IMG_2706
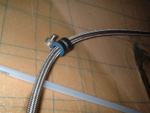
Assembled everything. You can see the spacers fit to hold the master cylinders in alignment. Plumbing in place. The unit is about 1 1/2 in. taller than the old Jaymar. I'm wondering if it will fit or will I have to lower it in the mount? We'll see to
Date: 04/11/2012
Views: 6391
|
