|
|
IMG_2604
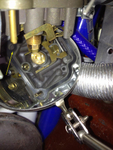
Got out the inspection mirror and made sure the gasket was in place all the way round the bowl. It was.
Date: 05/30/2012
Views: 7831
|
|
|
IMG_3238
Moved over to the port side and did the same with this carb.
Date: 05/21/2012
Views: 6743
|
|
|
IMG_3277
Here's a better picture of the nitrile gasket in place on the port carb gasket groove.
Date: 05/30/2012
Views: 5962
|
|
|
IMG_3278
And the float bowl back in place, with no gasket sticking out anywhere. Then it was torqued down and safety wired. Both drip trays were then re-installed. Lastly, I ran the electric fuel pump for several minutes (at 6 PSI according to the gage) and che
Date: 05/30/2012
Views: 6718
|
|
|
IMG_3213
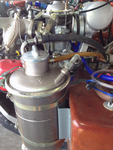
As an aside, while trouble shooting this problem, I decided to try and get the differential pressure gage working. Spent quite a bit of time on this over a year ago but could never get it to work. Anyway, I reinstalled the differential sensor unit and p
Date: 05/17/2012
Views: 6361
|
|
|
IMG_3214
Then I removed all the cheep crap connectors (with folded sheet metal pins) provided with the gage package, re-ran all the wiring and replaced the cheep connectors with good, 9-pin, sub-D connectors.
Date: 05/17/2012
Views: 6351
|
|
|
IMG_3217
Mounted the gage and turned on the electric fuel pump. Bingo! A pressure reading. It works now. So now I have a good operating differential pressure gage.
Date: 05/18/2012
Views: 6548
|
|
|
IMG_3277post
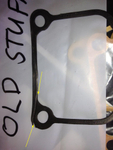
After the engine run still surged, I investigated the seating of the float bowls & gaskets. This one shows how the new gasket wasn't properly located, see arrow.
Date: 05/30/2012
Views: 6313
|
|
|
IMG_3290post
Here you can see where the gasket was cut by the bowl where it wasn't properly located.
Date: 05/31/2012
Views: 6114
|
|
|
IMG_3301post
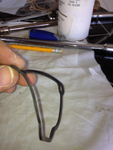
The issue being the softness and flexibility of the gasket material. Makes it difficult to ensure proper location while reattaching the bowl. The gasket is probably fine for a carb rebuild where you are doing it on the bench and can turn the carb over f
Date: 06/01/2012
Views: 6413
|
